
A garden sprayer is a handy tool for watering, fertilizing, and applying pesticides. But when the nozzle leaks, it quickly turns from helpful to frustrating. Leaks waste water, reduce pressure, and can make your job much harder.
Fixing a leaking sprayer nozzle might sound tricky, but with clear steps, you can often repair it at home—sometimes in just a few minutes. Taking the time to do it right can save you money, prevent garden messes, and extend the life of your equipment.
Many gardeners throw away a sprayer when it starts leaking, thinking it’s broken for good. But in most cases, leaks come from simple issues: loose parts, worn seals, or clogs. Understanding how your sprayer works—and what actually causes leaks—makes repair much easier.
This guide walks you through every step: from diagnosis to repair, maintenance, and expert tips. Whether you’re new to gardening or have years of experience, you’ll learn how to keep your garden sprayer working like new.

Also Read: How to Use a Flame Weeder Safely in Mulch?
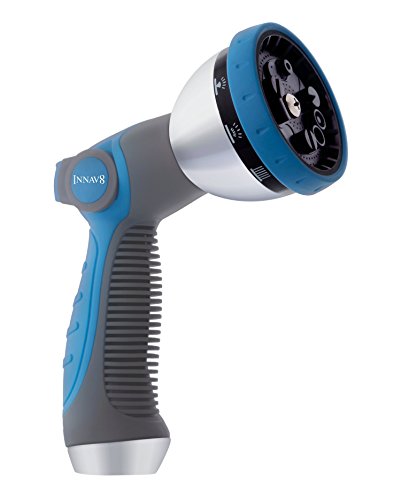
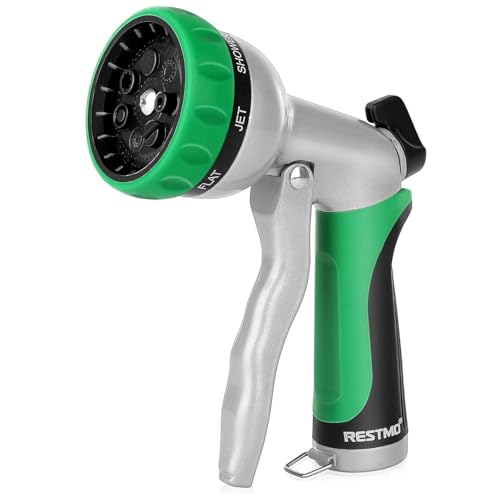
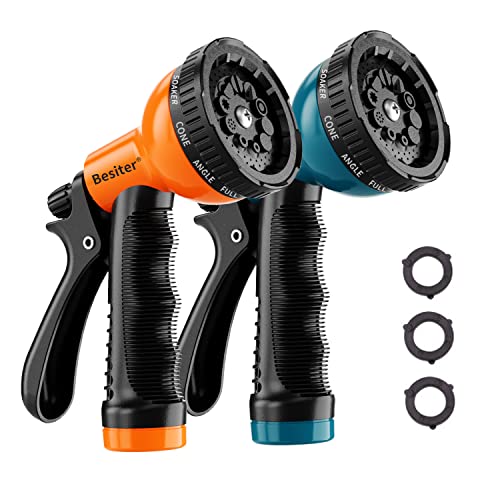
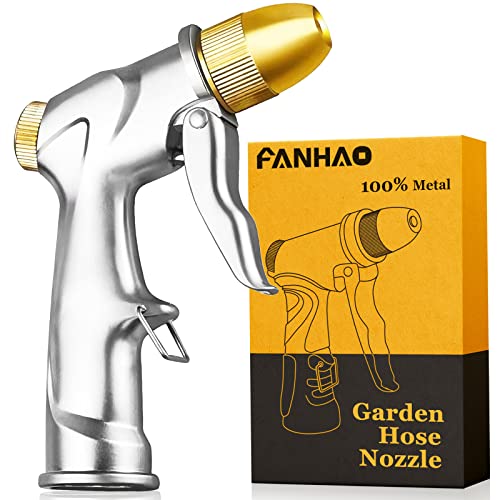
Buy Sprayer Nozzle If You Need


Why Garden Sprayer Nozzles Leak?
Before you start fixing, it’s important to know why sprayer nozzles leak. The cause can be as simple as a loose connection or as complex as a cracked housing. Understanding the reasons helps you find the real problem faster and choose the right solution.
- Worn or damaged O-rings/gaskets: These rubber seals stop liquid from leaking at connections. Over time, they dry out, crack, or get pinched.
- Loose nozzle or fittings: If the nozzle isn’t screwed on tightly, water seeps through the threads.
- Clogged or dirty nozzle: Debris inside the nozzle can force water around the seal, causing leaks at the tip.
- Cracked nozzle or wand: Drops or impacts can crack the plastic or metal, letting water escape.
- High pressure: Pumping too much can stress seals, making weak spots leak.
- Corrosion: Some chemicals or fertilizers eat away at metal parts, leading to small holes.
One insight many beginners miss: sometimes a leak at the nozzle is actually caused by a problem higher up—like a faulty trigger valve or hose connection. Always check the whole sprayer, not just the area dripping.
Essential Tools And Materials
Having the right tools ready saves time and helps you avoid damaging your sprayer. Here’s what you’ll need for most repairs:
- Adjustable wrench or pliers (for tightening or loosening parts)
- Replacement O-rings/gaskets (matched to your sprayer model)
- Small brush or toothpick (for cleaning)
- Lubricant (silicone-based, safe for rubber)
- Teflon tape (for sealing threaded connections)
- Clean rag or towel
- Bucket or large bowl (to catch water)
- Flashlight (for checking inside small parts)
- Replacement nozzle (if yours is cracked or badly worn)
Many hardware stores sell repair kits for popular garden sprayer brands, which include common O-rings and seals.

Diagnosing The Leak Location
Pinpointing exactly where your sprayer leaks can save you a lot of guesswork. Here’s how to do it:
- Fill the sprayer with clean water (no chemicals).
- Pressurize the sprayer with a few pumps.
- Watch closely as water flows through the nozzle.
- Identify the leak: Is it at the tip, around the threads, from the wand, or higher up? Use a flashlight if needed.
- Check for drips by holding a dry paper towel under the nozzle. This shows exactly where water is escaping.
If the leak is slow, let the sprayer sit under pressure for a few minutes. Some leaks only appear after a short delay.
Step-by-step Repair Guide
Once you’ve found the leak, you can start fixing it. Below are the main steps—adjust as needed for your exact problem.
1. Tighten All Connections
Loose fittings are a common cause of leaks. Hand-tighten the nozzle and all threaded connections. If you still see leaks, use pliers or a wrench, but don’t over-tighten. Too much force can strip threads or crack plastic.
2. Clean The Nozzle Thoroughly
Dirt and debris often get trapped inside the nozzle, leading to leaks or poor spray patterns.
- Remove the nozzle by unscrewing it from the wand.
- Soak in warm, soapy water for 10 minutes.
- Scrub with a small brush or toothpick to remove residue inside and out.
- Rinse well and check for cracks or damage.
- Reattach and test.
This simple cleaning solves many leaks.
3. Inspect And Replace O-rings Or Gaskets
O-rings and gaskets are small rubber parts that prevent leaks at joints. If they’re worn, you’ll see cracks, flat spots, or swelling.
- Remove the nozzle and check for an O-ring inside the connection.
- Take out the O-ring gently with a toothpick or small screwdriver.
- Compare it to a new O-ring of the same size.
- Lubricate the new O-ring with a little silicone grease before installing.
- Replace and reassemble.
If your sprayer uses a flat gasket, make sure it sits flat and is not twisted.
4. Use Teflon Tape On Threads
For threaded connections, especially metal-to-metal or plastic-to-metal, Teflon tape helps seal gaps.
- Wrap the tape clockwise around the male threads (2-3 layers).
- Reattach the nozzle or fitting, hand-tighten, then finish with a wrench if needed.
This step often fixes leaks that new O-rings alone can’t handle.
5. Check For Cracks And Replace Damaged Parts
Cracks in the nozzle, wand, or trigger are usually easy to spot. Shine a light and look for hairline splits, especially on plastic parts.
- If you find a crack, replace the damaged part. Most nozzles and wands are easy to swap out.
- Don’t try to glue a cracked nozzle. Pressure and chemicals will quickly break the glue bond.
6. Test The Sprayer
After repairs, fill with water and pressurize again. Look for any drips or sprays around the nozzle. Move the wand to different angles—sometimes leaks only show up when the sprayer is tilted.
If you still see leaks, repeat the inspection. Sometimes more than one problem is present.
Common Types Of Garden Sprayer Nozzles
Different nozzle types have different leak risks and repair methods. Here’s a quick comparison:
| Nozzle Type | Main Leak Risk | Repair Difficulty |
|---|---|---|
| Adjustable cone | Worn O-rings, loose threads | Easy |
| Fan spray | Debris, cracked plastic | Moderate |
| Brass tip | Corrosion, loose fit | Easy |
| Multi-pattern | Complex seals, wear inside | Hard |
If your sprayer has a multi-pattern nozzle, check the manual for specific repair advice. These have more seals and small parts.
Preventing Nozzle Leaks In The Future
A few simple habits can prevent most leaks:
- Rinse after use: Always flush the sprayer with clean water after using chemicals or fertilizers.
- Store indoors: Sunlight and freezing damage seals and plastic.
- Lubricate seals: Once per season, apply a small amount of silicone lubricant to O-rings.
- Avoid over-tightening: Too much force can deform threads and seals.
- Replace worn parts promptly: Don’t wait for small leaks to become big problems.
Never leave pressure in the tank when not in use. This stresses seals and shortens their lifespan.
Real-world Example: Fixing A Leaking Nozzle
Let’s walk through a typical repair for a leaking fan spray nozzle.
- Problem: Water drips from where the nozzle joins the wand, even when not spraying.
- Diagnosis: After cleaning, the leak continues. Removing the nozzle shows a cracked O-ring.
- Solution: Buy a matching O-ring set from the hardware store. Remove the old O-ring, clean the groove, and install a new lubricated O-ring.
- Result: After reassembly, no more drips. The spray pattern is restored.
Many beginners miss that O-rings come in different thicknesses and materials. Always match both the size and the material (EPDM for chemicals, standard rubber for water).
Troubleshooting Unusual Leaks
Sometimes, leaks happen in unexpected ways. Here’s how to handle them:
Leak Only When Spraying
This often means the spray tip is worn or the internal valve is faulty. Try replacing the nozzle first. If the leak continues, inspect the trigger or control valve.
Leaks From The Wand Handle
Check for cracks along the handle or at the trigger. Some handles have an internal O-ring that needs replacing. If the leak is at a seam, replacement is usually needed.
Multiple Drips And Sprays
If the nozzle drips at several points, suspect both a dirty tip and worn seal. Clean and replace parts as needed.
When To Replace Vs. Repair
Not all leaks are worth fixing. Here’s a guide to help you decide:
| Problem | Repair or Replace? | Reason |
|---|---|---|
| Worn O-ring | Repair | Cheap, fast fix |
| Cracked nozzle | Replace | Glue won’t hold pressure |
| Corroded metal tip | Replace | Corrosion spreads, weakens part |
| Loose threads | Repair (tape) | Teflon tape seals most gaps |
| Split wand | Replace | Safety risk, hard to repair |
If the total cost of repair parts is more than half the price of a new sprayer, replacement is usually smarter.
Safety Tips For Garden Sprayer Repair
Always remember that garden sprayers often hold chemicals or fertilizers, which can be hazardous. Here’s how to stay safe:
- Wear gloves when handling used parts.
- Rinse all parts with clean water before disassembly.
- Work in a well-ventilated area.
- Never reuse old chemicals. Dispose of any leftover liquid safely.
- Keep children and pets away during repair.
One common mistake: not rinsing the sprayer before repairs. Even a small amount of leftover pesticide can cause skin irritation.
Maintenance Schedule For Long-lasting Sprayers
Routine care will keep your garden sprayer working for years. Here’s a suggested maintenance schedule:
- After every use: Rinse tank, wand, and nozzle with clean water.
- Monthly: Check O-rings and lubricate if needed.
- Every season: Inspect for cracks, corrosion, and worn parts.
- Annually: Replace all O-rings and gaskets, even if they look fine.
Following this schedule prevents sudden leaks and breakdowns.
Choosing Quality Replacement Parts
When buying replacement parts, always match the brand and model of your sprayer. Using generic or mismatched O-rings can actually cause leaks. Here’s what to consider:
- Material: Rubber, silicone, or EPDM. Use chemical-resistant seals for pesticide sprayers.
- Size: Measure old parts or bring them to the store.
- Brand: OEM (original equipment manufacturer) parts are usually best.
- Price: Don’t buy the cheapest nozzles—they often wear out faster.
For more technical details, you can check manufacturer sites or resources like the Wikipedia sprayer page.
What Many Gardeners Overlook?
- Nozzle angle and position: Sometimes, leaks happen only when the nozzle is turned a certain way. Always test at different angles.
- Seasonal effects: Cold weather shrinks and cracks rubber seals. If your sprayer leaks after winter, check all O-rings—even if they look okay.
- Chemical damage: Some fertilizers and pesticides degrade seals faster than water. Always check compatibility before spraying.
These factors often go unnoticed, leading to repeated leaks even after repair.
Environmental Impact Of Leaky Sprayers
A leaking sprayer isn’t just a hassle—it can waste dozens of gallons per season. Even a slow drip can spread pesticides or fertilizers into the soil, harming beneficial insects and polluting groundwater. Fixing leaks promptly is part of responsible gardening.
Upgrading To Better Nozzles
If you repair leaks often, consider upgrading to a brass or stainless steel nozzle. These are more durable and resist corrosion better than plastic. Some high-end nozzles have double seals for extra leak prevention.
Frequently Asked Questions
Why Does My Garden Sprayer Leak Even After Replacing The O-ring?
If the leak continues, check for cracks in the nozzle or wand, worn threads, or a missing gasket. Sometimes, the O-ring groove is dirty or corroded, preventing a good seal. Clean the groove and try again.
How Often Should I Replace Sprayer Nozzle Seals?
Replace seals at least once per year, or whenever you notice leaks. If you use harsh chemicals, check seals every few months.
Is It Safe To Use Plumber’s Tape (teflon Tape) On All Connections?
Yes, Teflon tape is safe for most sprayer threads. Use only on threaded joints, not on quick-connect or snap-on fittings.
Can I Use Universal O-rings For Any Sprayer?
Not always. O-rings vary in size and material. Always match the size and choose chemical-resistant types for fertilizer or pesticide sprayers.
What If My Sprayer Leaks From Multiple Places?
Multiple leaks usually mean several seals are worn out, or the sprayer is old. Inspect and replace all O-rings and gaskets, and check for cracks. If leaks persist, consider replacing the sprayer.
Fixing a leaking garden sprayer nozzle is often simple and quick—if you know what to look for. With the right tools, careful inspection, and a little patience, you can restore your sprayer to perfect working order. By taking care of small problems early, you’ll save water, protect your garden, and avoid costly replacements.
Most importantly, you’ll spend more time enjoying your plants and less time fighting with your tools.
Sabbir Ahmed is an experienced gardener and the lead voice behind GardenToolsGuide.com, where he combines over 15 years of hands-on horticultural expertise with a passion for sustainable cultivation. Specializing in organic soil health and permaculture, Sabbir has dedicated his career to testing and refining the best methods for maintaining thriving green spaces. His mission is to simplify the complexities of gardening by providing practical, tool-focused advice that helps fellow enthusiasts—from beginners to seasoned pros—grow nutrient-dense food and beautiful landscapes with efficiency and ease.